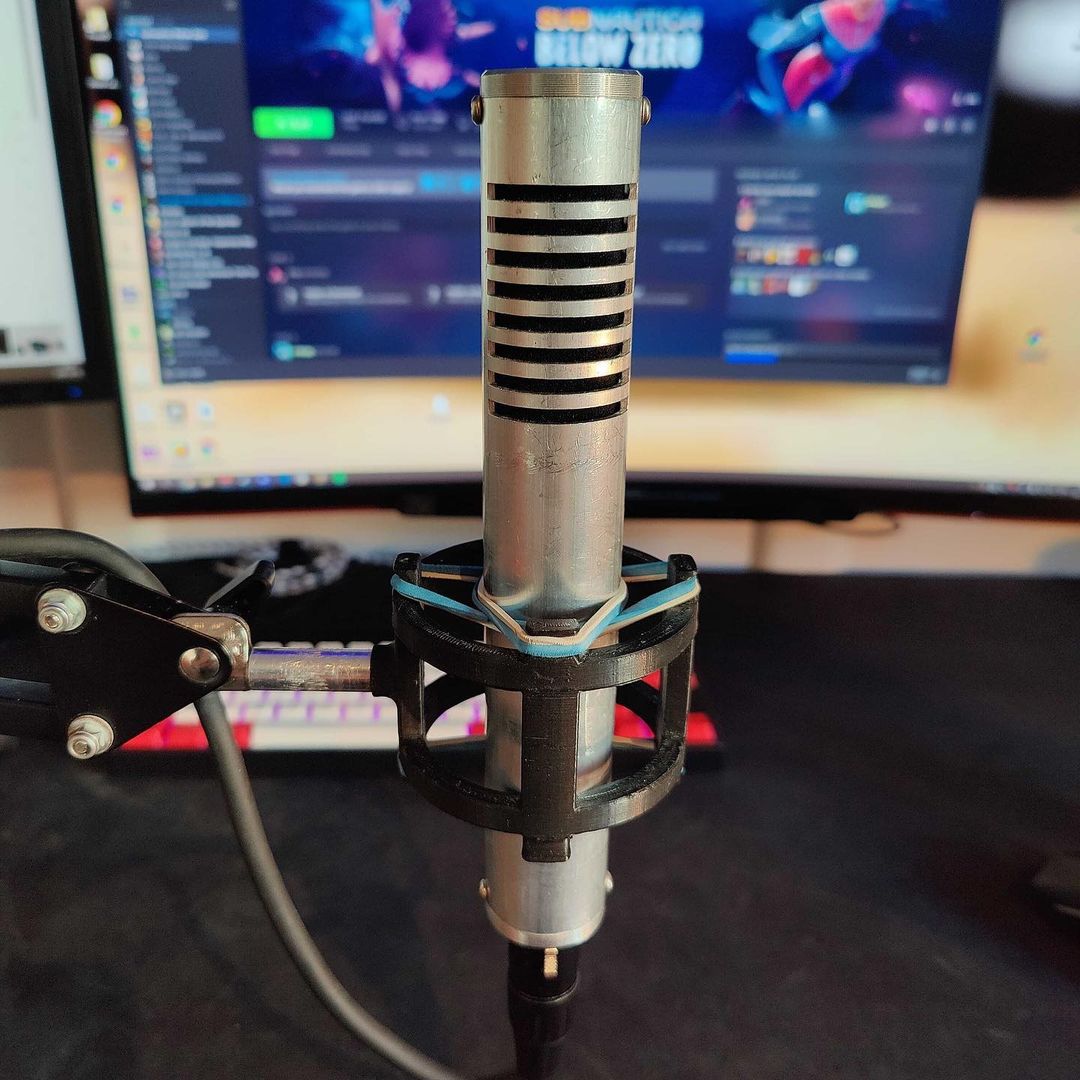
How it works
Ribbon microphones operate by using a thin, lightweight strip of aluminum foil suspended in a magnetic field. When sound waves hit the ribbon, it vibrates, generating a small electrical current. This current is then amplified with a transformer to produce the final audio signal. Ribbon microphones were commonly used during the 1930s and 1950s for broadcasting and studio recording, valued for their warm and natural sound. This microphone is the second one I’ve built—the first was made almost entirely out of 3D-printed PLA and was less durable.
Design
The first microphone was rough and fragile. For this version, I decided to improve the design by using aluminum. However, if I were to create a third version, I would likely use brass instead of aluminum. Brass would offer better grounding properties and would make securing the ribbon connections easier - It would also be prettier.
I designed the microphone in Autodesk Inventor, and the blueprints can be found below:
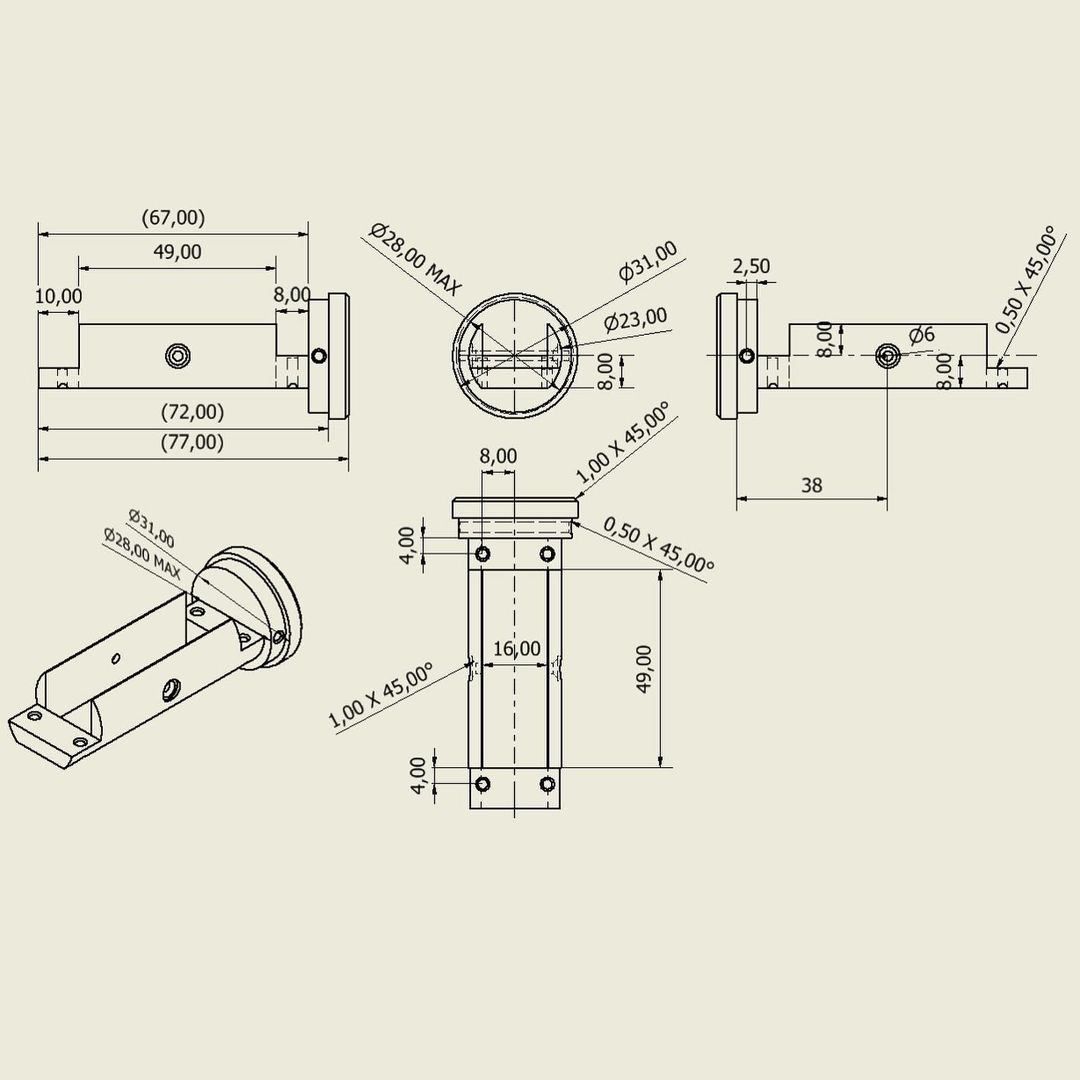
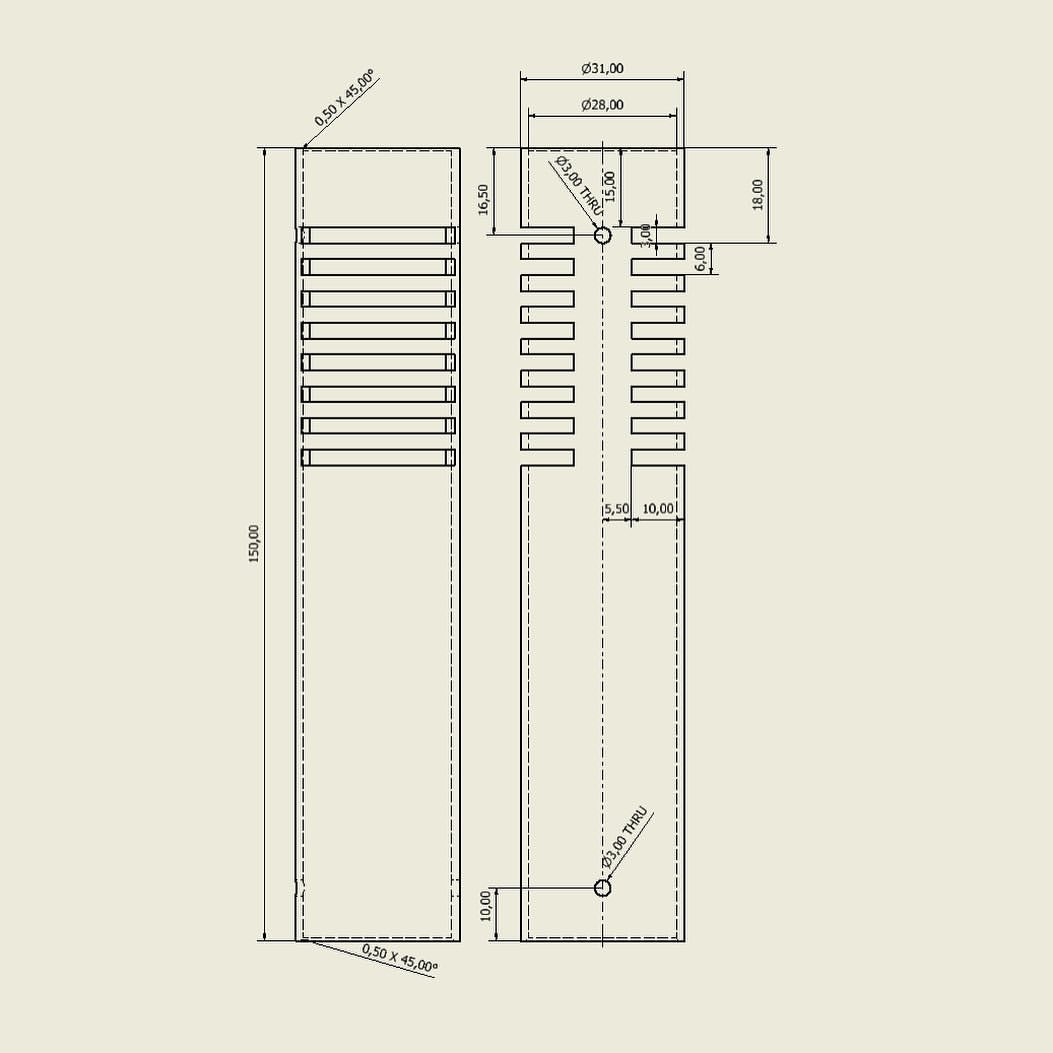
| Element | Chassi | Bottm XLR Piece |
|---|
Construction
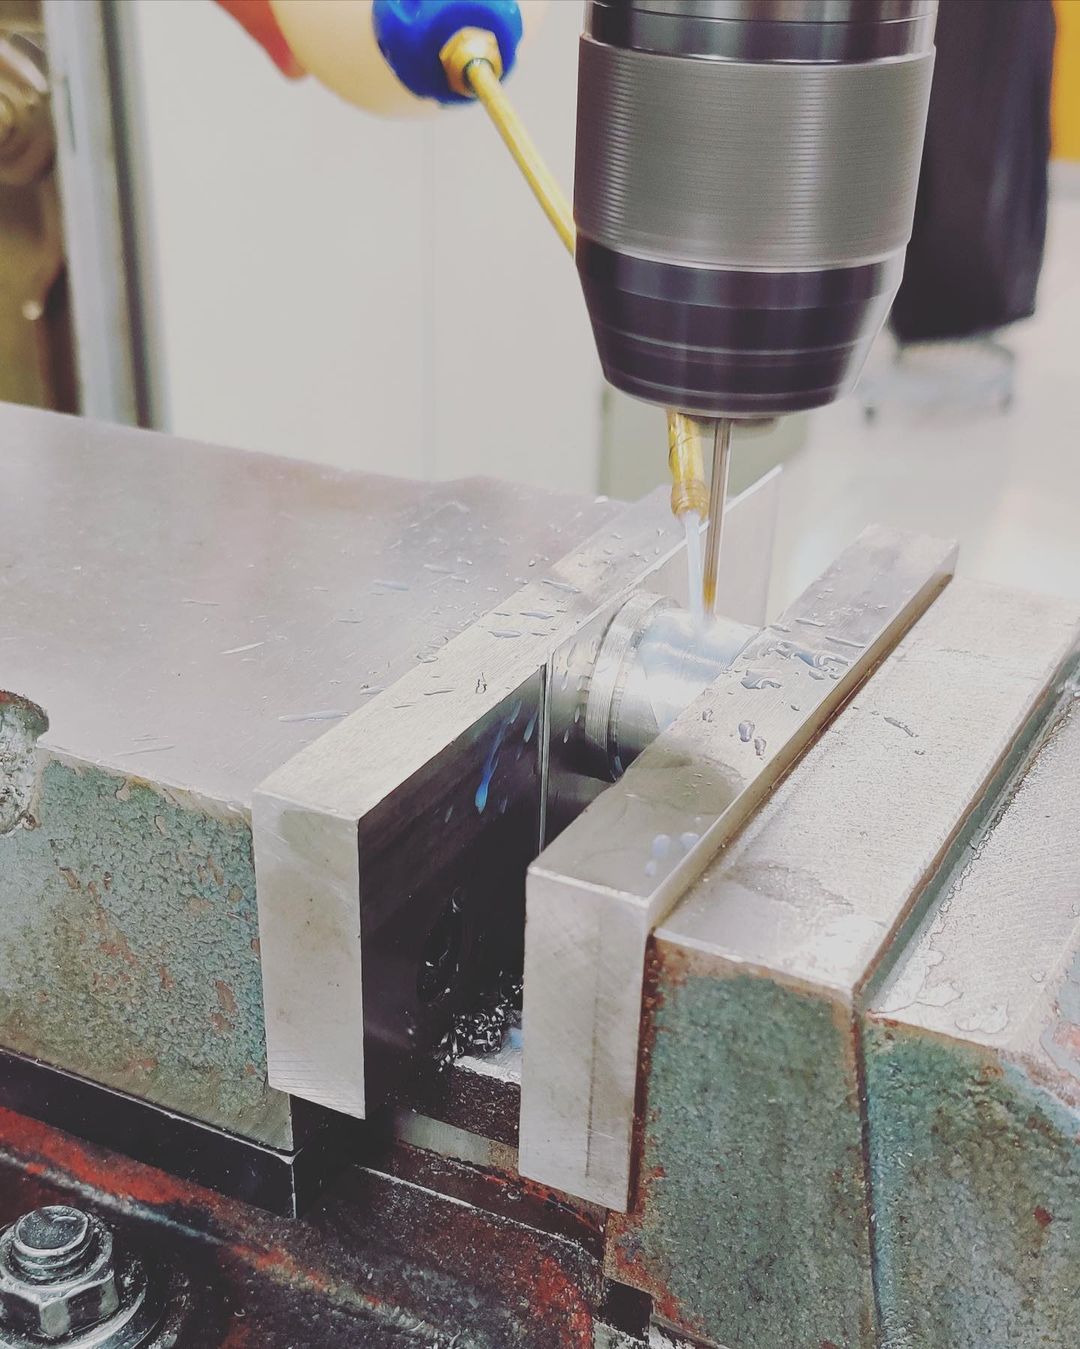
I started by making the main chassis from a 31x28mm pipe. Slits were machined into the pipe using a groove mill:
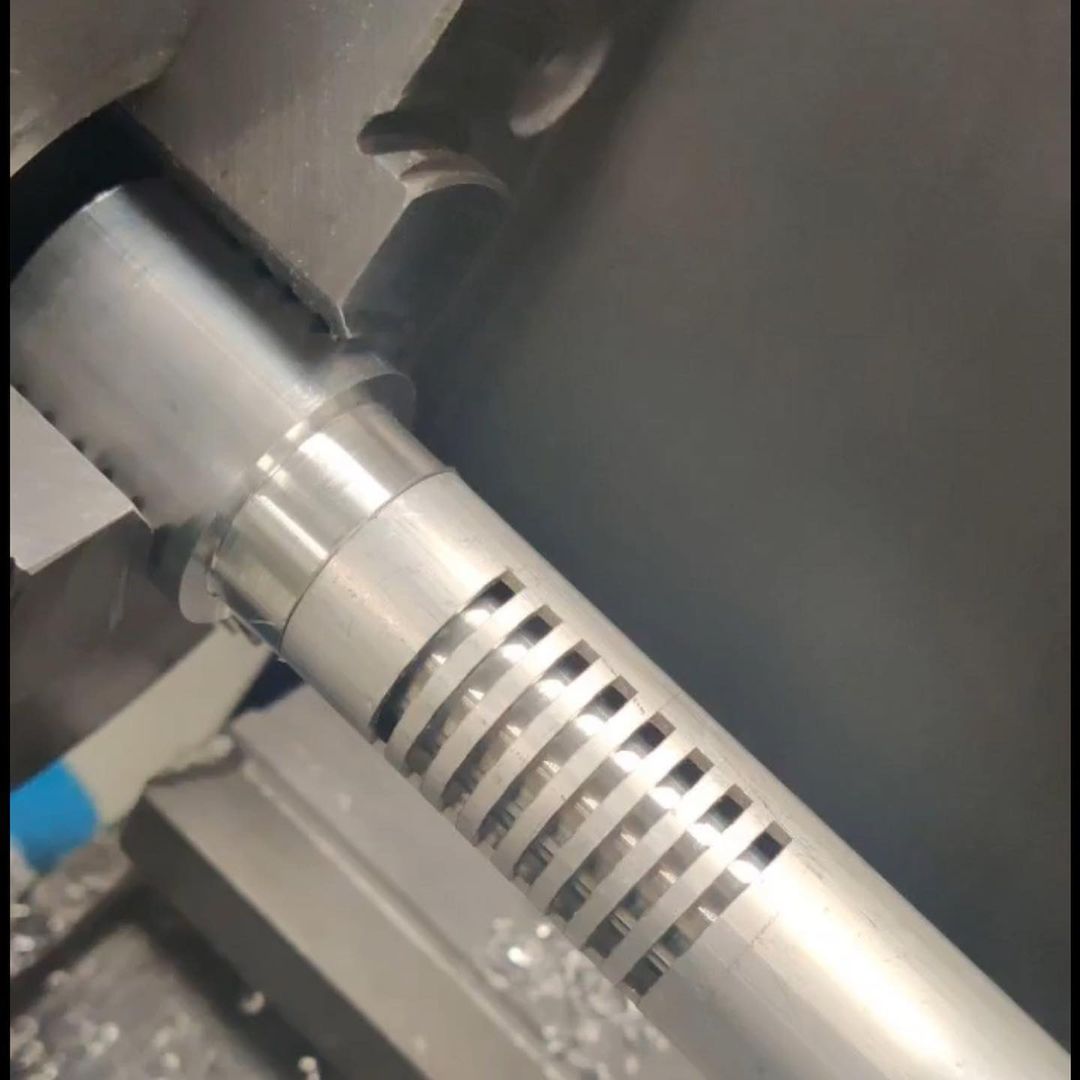
Using a lathe, I turned the element together with the top cap. The assembly was then mounted in a rotary fixture and milled with an end mill.
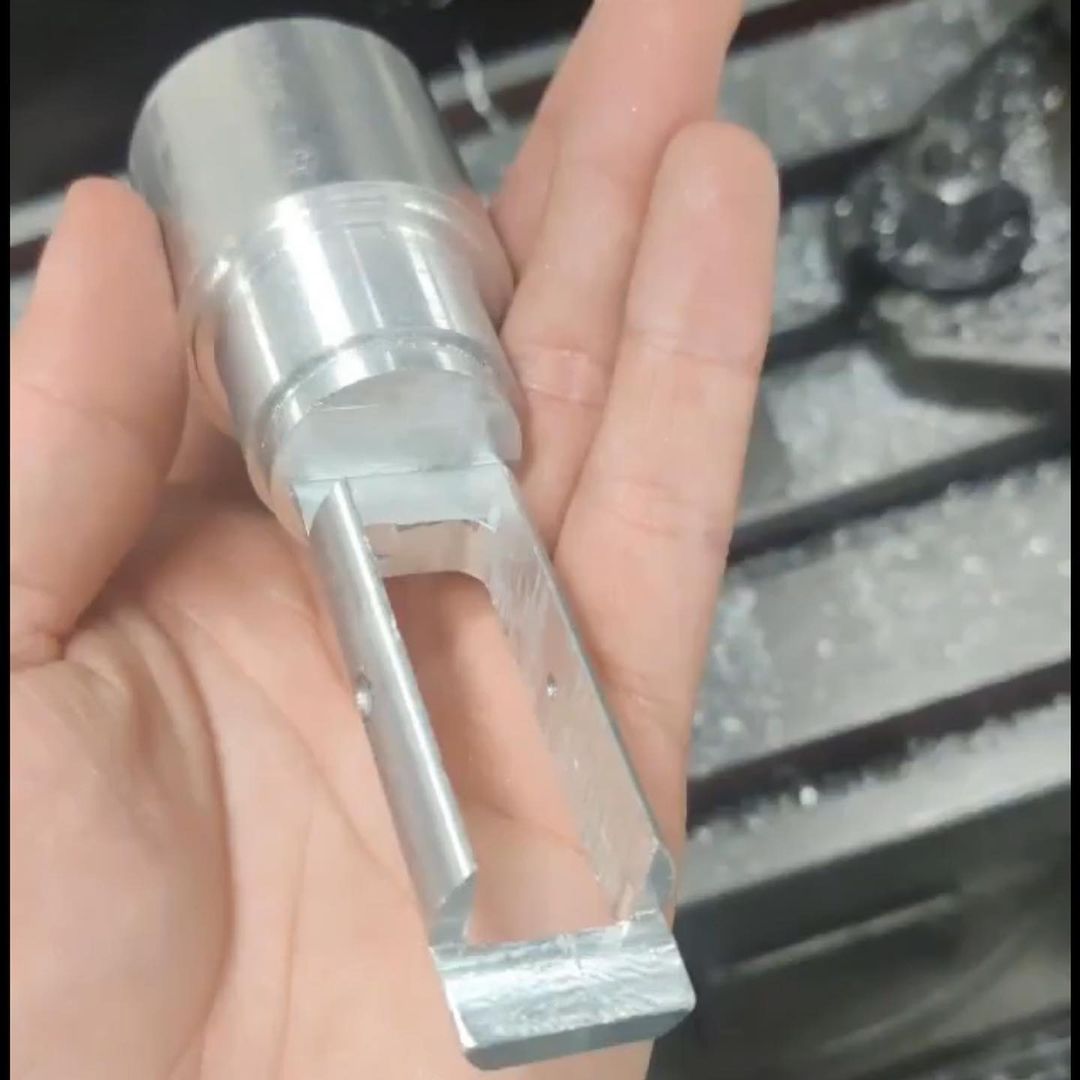
Before installing the magnets and ribbon foil, I drilled and tapped holes for the foil fasteners and to secure the element to the chassis:
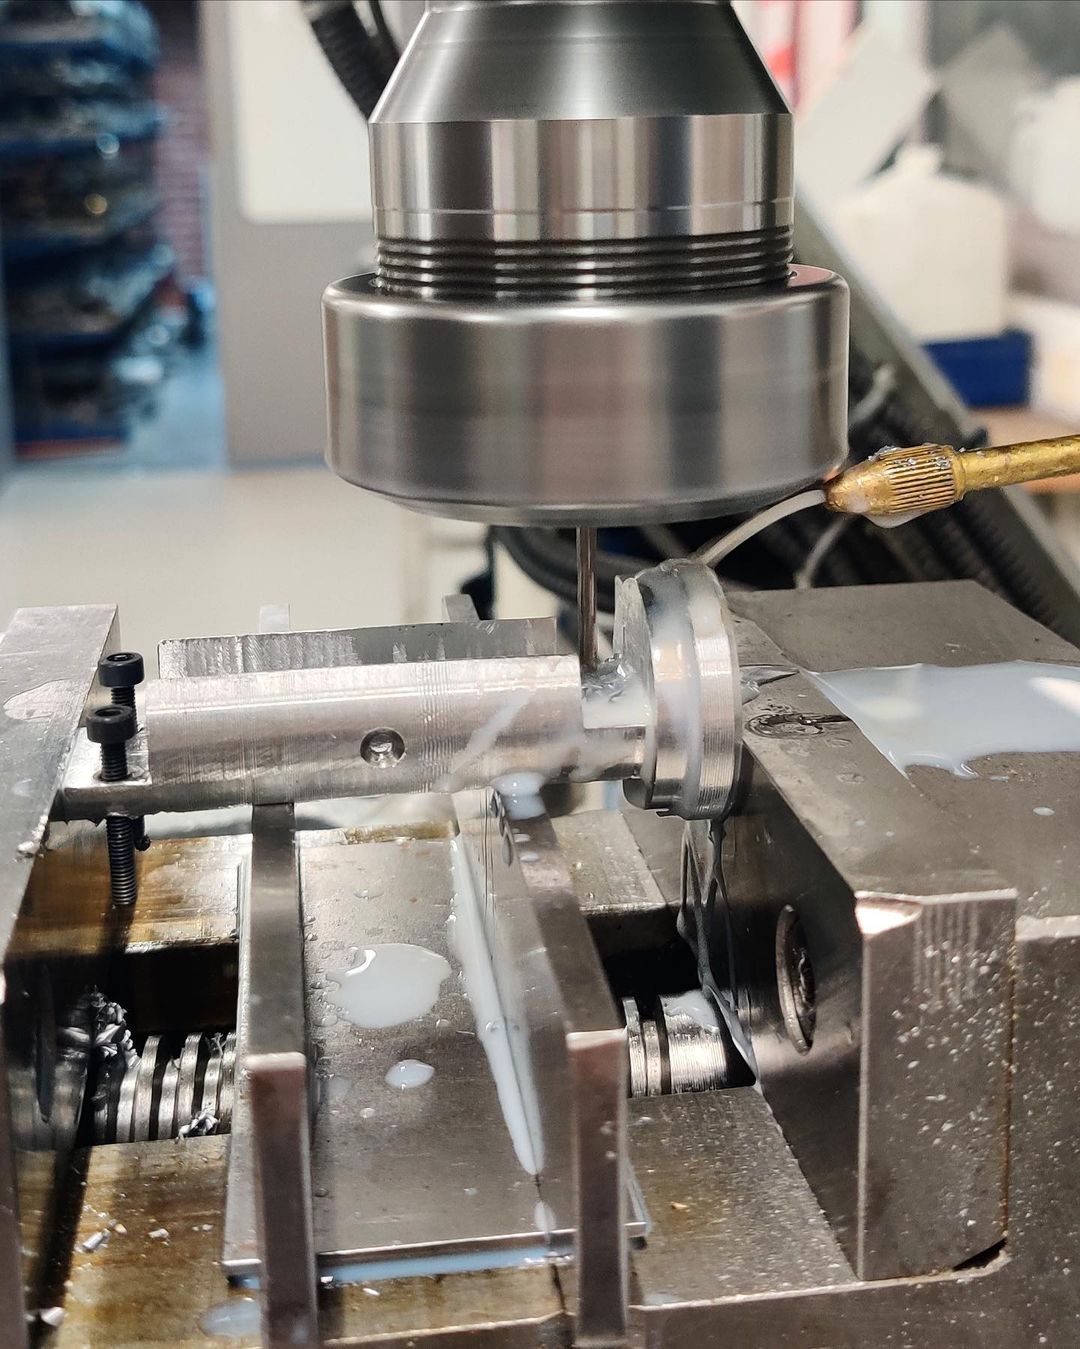
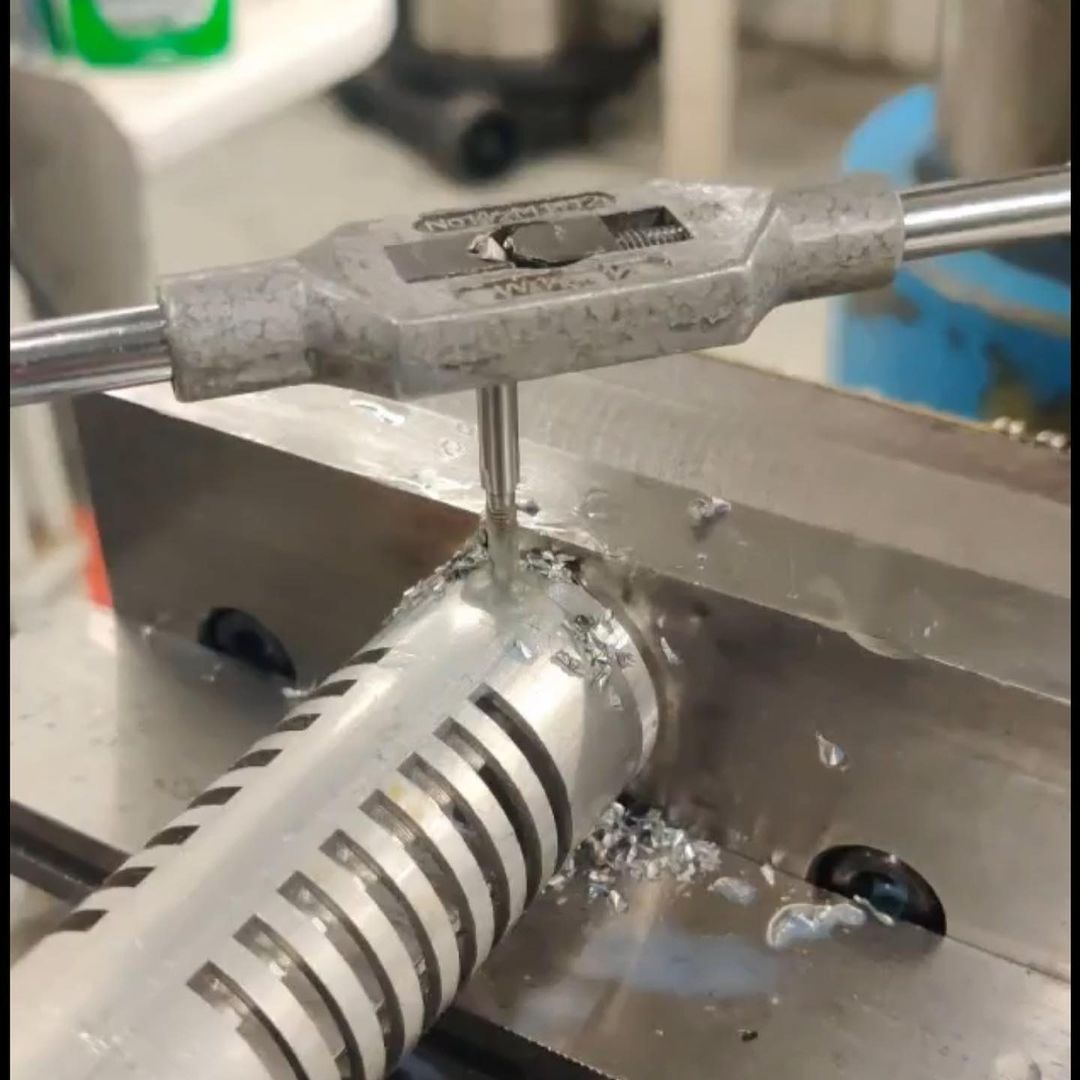
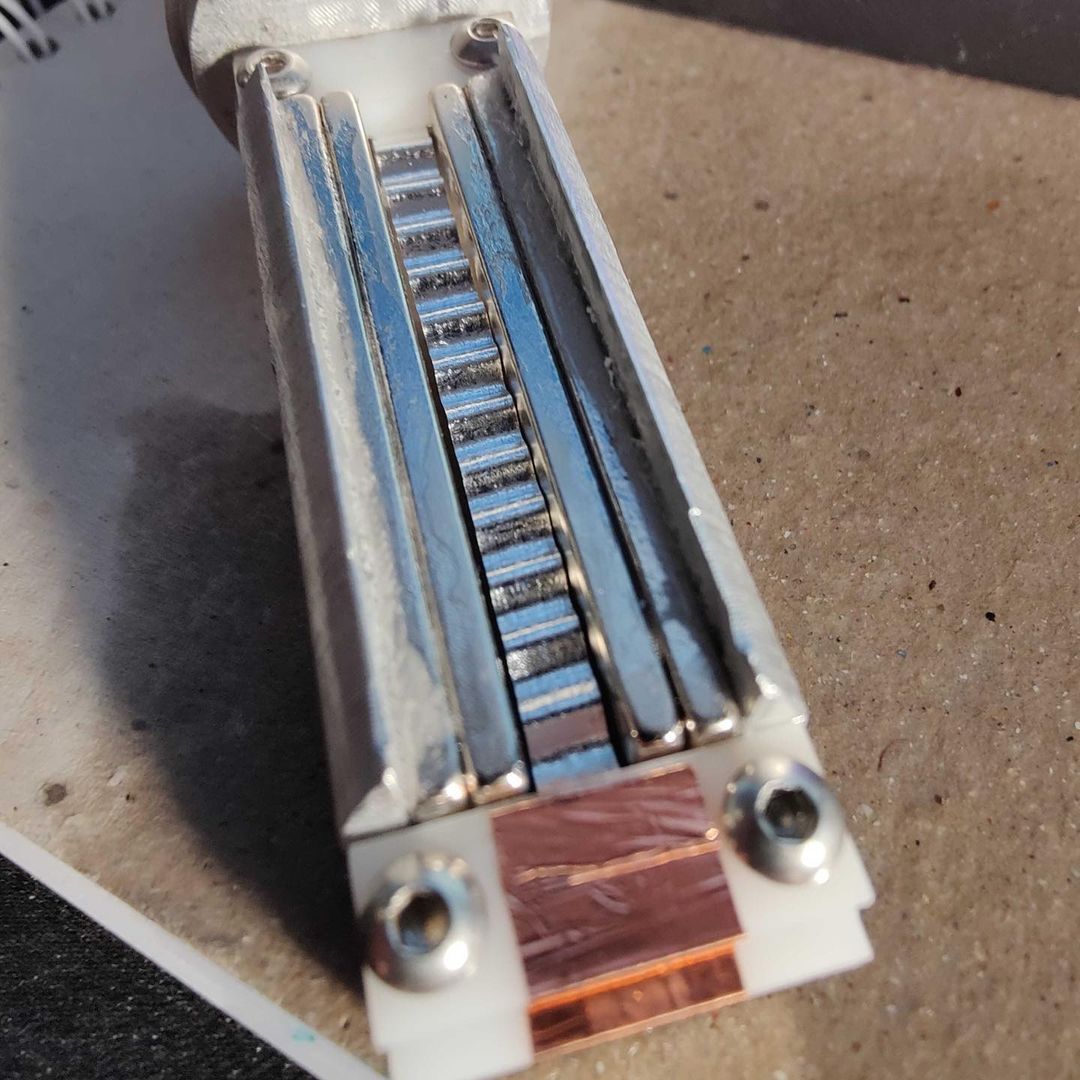
Four N50 neodymium magnets were glued to the element, providing the strong magnetic field necessary for the microphone's operation. Aluminum foil was then cut to size and carefully corrugated using some plastic gears I 3D-printed. The corrugated foil was subsequently secured to the element, completing the assembly of the ribbon element.
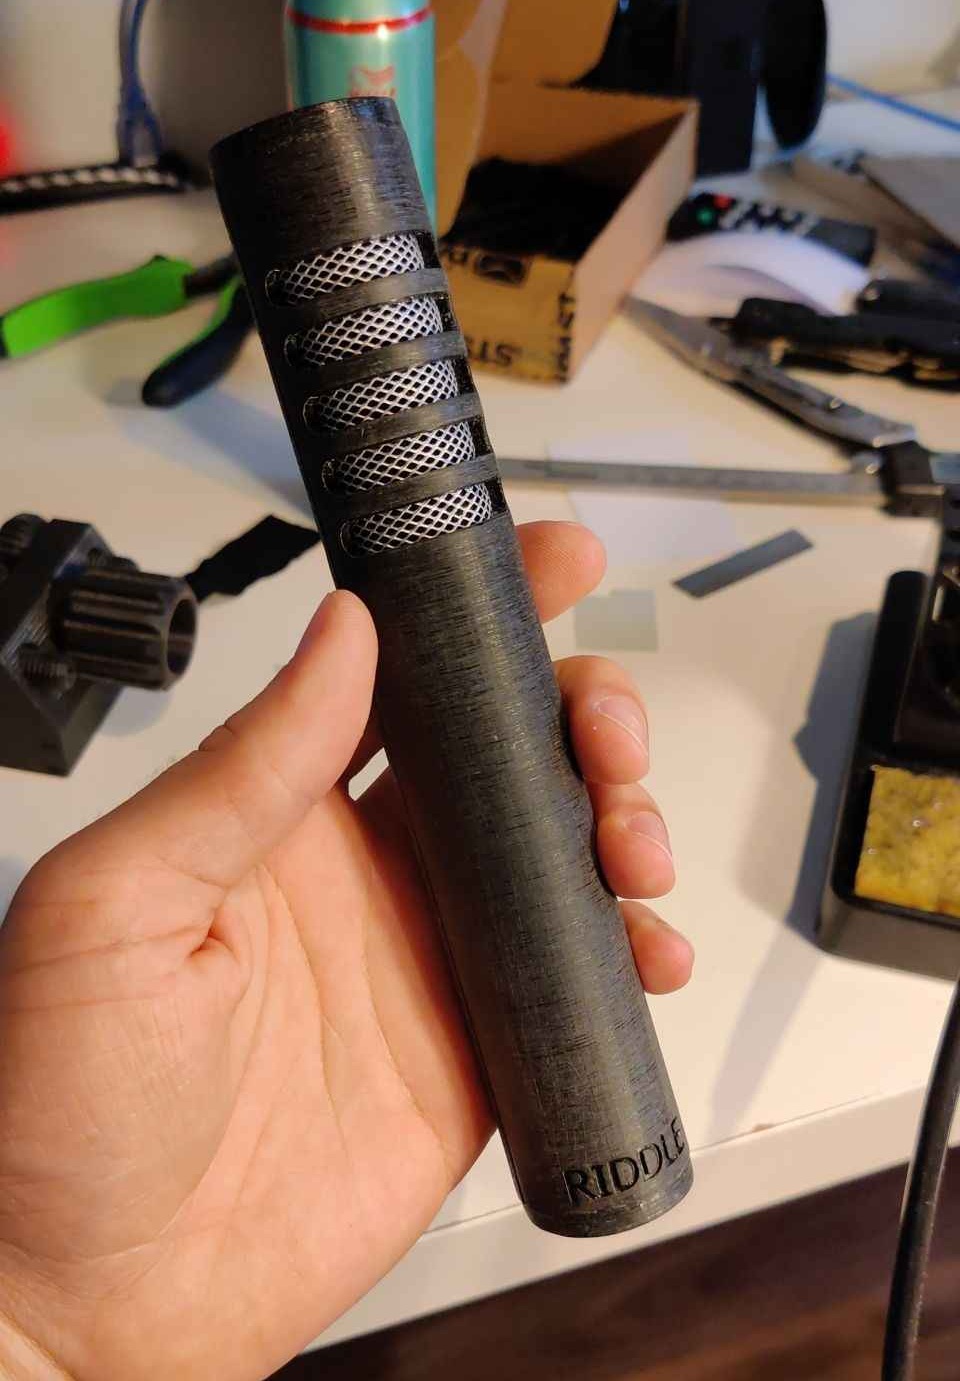
The XLR connector was turned on a lathe, and mounting holes were drilled and tapped to secure it to the chassis:
Sound
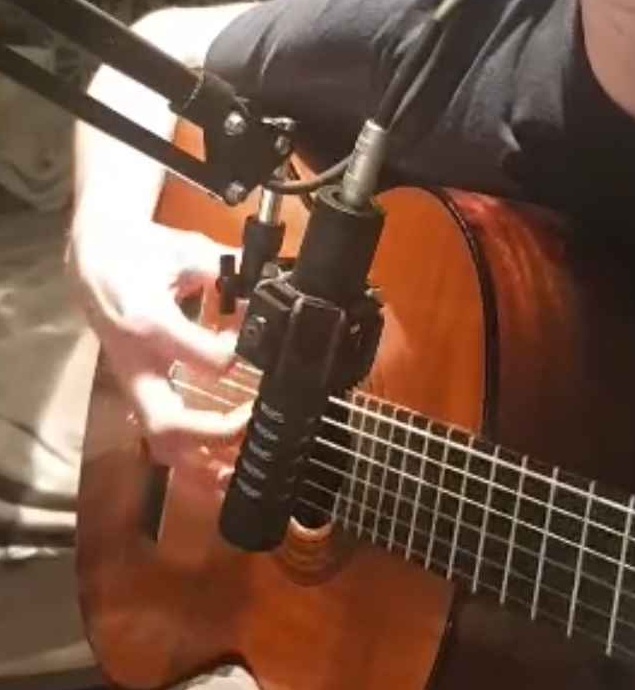
Here is an audio recording of my friend playing guitar. The microphone was mounted on an arm and is the first version made of 3D-printed plastic:
In this recording, I discuss the sound quality and grounding issues of the new microphone. Toward the end, I switch to a Shure SM58 for comparison:
Conclusion
This project was a rewarding experience that allowed me to recreate a piece of somewhat old technology while expanding my skills in designing for machining, as well as learning and practicing the processes of milling and lathing.